
Top 10 Go-To Recipes for Natural Home-Made Household, Hygiene and Beauty Products
You might be wondering how autonomy has anything to do with making your own hygiene and beauty products. Quite simply, it ties into our hard-wired desire for productivity. In fact, the very act of creating your own products, rather than purchasing them, brings together a multitude of different aspects of happiness.
Creating your own products from scratch can:
- Make you more creative and productive. In this video, I explained why it’s important to strike a balance between consuming and creating in order to stay happy and healthy. The very act of producing something you could have otherwise bought off the shelf awakens the instinctual part of you that craves hands-on creation. It stimulates the brain regions involved in creativity, making sure you stay imaginative and resourceful.
- Save you money. The price of a product isn’t just the sum total of the cost of the materials used. When you make something yourself, you bypass the cost of labour, advertising and shipping by cutting out the middle men. You can also buy ingredients or materials in bulk and save serious amounts of money every year.
- Give you complete control over the ingredients and materials used. When you know everything that’s in it, you can be sure it’s healthier for you than something that contains strange combinations of letters and numbers.
- Allow you to use the creative process to spend quality time with your friends and family. People welcome activities that take them away from their everyday routine. If you invite people over to help you put together these products, you can use it as an excuse to socialize and bond with them. If you’re an introvert and aren’t convinced that there’s any benefit to socializing, click here, so I can convince you otherwise.
- Help you become more mindful of whether or not you need certain products in the first place. When you put them together yourself, it forces you to think about what purpose they serve and what function you want them to perform. Not to mention the time you spend creating them gives you something concrete to focus on, which trains you in the act of mindfulness and takes your mind away from the vague negative notions of the day. Click here, to learn more about mindfulness, how to do it and why it’s so important for your health and happiness.
- Prove to you that you aren’t dependent on anyone else to provide you with the benefits these products have to offer. You get a sense of satisfaction from that knowledge, because independence is a driving factor in many people’s lives. Click here, if you’d like to learn how to be more independent in other ways.
- Help you become more minimalist when you see just how many things can pull double duty and how much less you actually need to buy in general. If minimalism is something you’re interested in, but you’re struggling with the basics, click here to learn how to get started.
So now that I’ve (hopefully) convinced you of all the amazing benefits of producing your own natural home-made products, how do you do it? Where should you start? Well, everyone’s different. All I can do is tell you where I started and hope it inspires you to find a similar path. We all get triggered by different things to start getting curious about natural self-care. For me… it was shampoo.
As a recent university graduate, I was outraged by the price of hair care products. So I resolved to save some money by making my own shampoo and conditioner. At first, I had no idea where to start, so I googled “how to make your own shampoo”. And thus I was thrust into the wonderful world of “no poo” (I dare you to google it). It took a few months to find the recipe I was happiest with, and for the past 4 years, I’ve been making my own shampoo and conditioner.
After seeing how easy it was, I became curious to see what else I could get away with not buying. Soap was next, then toothpaste and deodorant. Hair removal wax, moisturiser, face cream, disinfectant. All the way to things like laundry liquid and dish washing detergent. It started as a way to save money, but I soon realized it was also helping me stay away from harmful chemicals and ingredients I was happy to avoid. It got me interested in environmentally friendly and sustainable options in general. And, of course, it eventually cycled back and got me thinking about the way I was eating.
Up until that point, cooking my own meals from scratch had been the hardest and scariest thing I could imagine. But now, only three years later, I’ve somehow reached a point where I enjoy it immensely. I’ve developed such a strong sense of autonomy when it comes to these things that I’ll get upset if someone else tries to do the cooking for me.
So without further ado, I present to you my top 10 go-to recipes for natural, home-made household, hygiene and beauty products. Now, for those interested, all of the following products are vegan and immensely affordable compared to their store-bought counterparts.
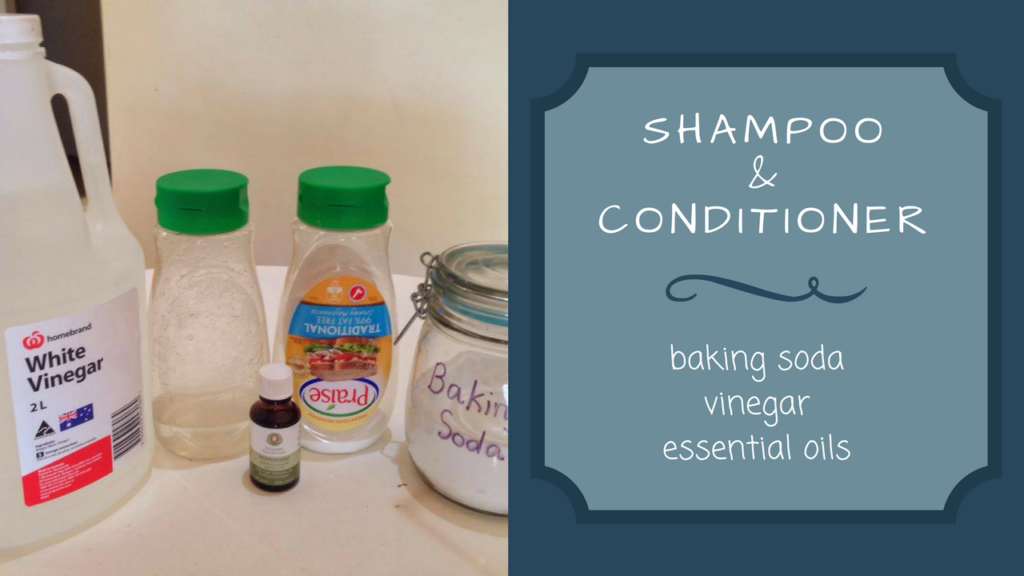
Ingredients:
- 2 empty mayonnaise squeeze bottles or glass jars (about 500g in size)
- 2 tsp baking soda
- ¼ cup white vinegar
- 1-3 drops of your favourite essential oil (I use peppermint)
- warm water*
(*If your tap water contains too many minerals or sediment, use bottled water for better results. Alternatively, you could filter the water through a bottle filled with cotton balls, coarse sand and fine mesh material to get most of the yuckies out.)
Method:
- Place the baking soda in one bottle/jar and fill it up the rest of the way with warm water. Shake the container until completely dissolved.
- Place the vinegar in the other bottle/jar and fill it up the rest of the way with warm water. Shake the container until completely dissolved.
- Add the essential oil to the container with the vinegar. This helps neutralize the vinegar smell. Some essential oils have other helpful properties you might be interested in. For example, rosemary oil can help combat oiliness and tea tree oil can help with dandruff.
- Pour the baking soda mixture slowly over your hair with one hand as you gently, but firmly scrub it into your scalp with the other. Scrub with both hands after the container is empty for 2-5 minutes before rinsing out with warm water.
- Repeat the same process with the vinegar and make sure to rinse thoroughly. Make sure the vinegar mixture covers every inch of your hair that the baking soda did, because this will bring the PH back to neutral and make sure your hair doesn’t become brittle.
WARNING: Do not use this mixture more than once every 4-5 days, or it might dry out your hair and cause breakage. Your scalp produces a natural oil called sebum that is required for healthy hair. If you wash it off too often, it can no longer protect your hair by locking moisture in, and your head will try to overproduce sebum to make up for the difference, which will result in oilier hair.
Ingredients:
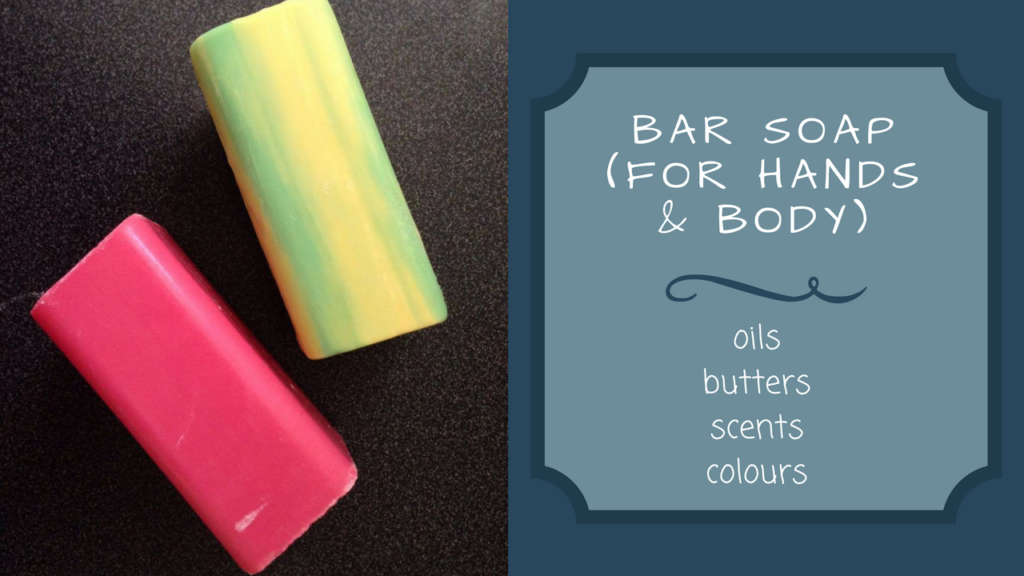
- 10oz coconut oil
- 8oz castor oil or olive oil
- 6oz avocado oil or macadamia oil
- 4oz almond oil or apricot kernel oil
- 5oz shea butter or cocoa butter
- 4oz pure soap-making lye (sodium hydroxide)
- 10oz water
- 5-10 drops essential oils
- 1 tsp arrowroot powder or corn-starch
- 1 tbsp. bentonite clay
Equipment:
- soap mould
- stainless steel pan
- heat-proof jug
- immersion blender (stick blender)
- digital thermometer
- milk frother
- rubber spatula
- metal spoon
- small sieve
- measuring spoons
- old towel
- cardboard box
- gloves
- goggles
Method:
- Measure the lye and water in separate bowls usinga kitchen scale.
- Carefully combine the lye and water by pouring the lye into the water (DO NOT pour the water into the lye!) and stir until completely dissolved. The liquid is caustic and not to be touched in anyway. The outside of the bowl will be extremely hot once mixed.
- Allow the lye mixture to air out (preferably outside) and cool down while you prepare the oils.
- Place the solid oils in a pot to melt on low heat.
- Once melted, add the liquid oils by passing through the sieve to make sure nothing solid gets into your soap.
- Take oil’s temperature, aiming for 110-130F. Make sure the lye water is within 10 degrees of that as well.
- Add the lye mixture to the oils in the pot and stir.Note: Any equipment the lye touches MUST be neutralized in a mixture of white vinegar, soap, and water afterward.
- Use stick blender to blend the oils and liquid for at least 3-5 minutes. Use it like a spoon, then pulse normally and stir again until the batter thickens into a custard-like consistency.
- Now quickly add the essential oils because once you add them the soap will get hard very quickly. Stir and spoon the mixture into a mould.
- Allow soap to cool and harden for 24 hours. Store mould in a cardboard box covered with a towel, coz you don’t want it cooling too fast.
- Remove from mould onto a cutting board and cut into bars.
- Place bars on a tray with good airflow so that they can harden further. This is necessary, because the water you added needs to evaporate. Space them apart evenly on grease-proof paper in a drafty, airy place out of direct sunlight. Cover with more grease-proof paper so dust doesn’t get on them and leave for a month. This is the hardest part because, if you’re anything like me you’ll be tempted to use your soap immediately. But trust me, it pays off to wait, coz it will hold together better instead of just falling apart the moment you use them. Especially if you intend to leave the soap in the shower.
Ingredients
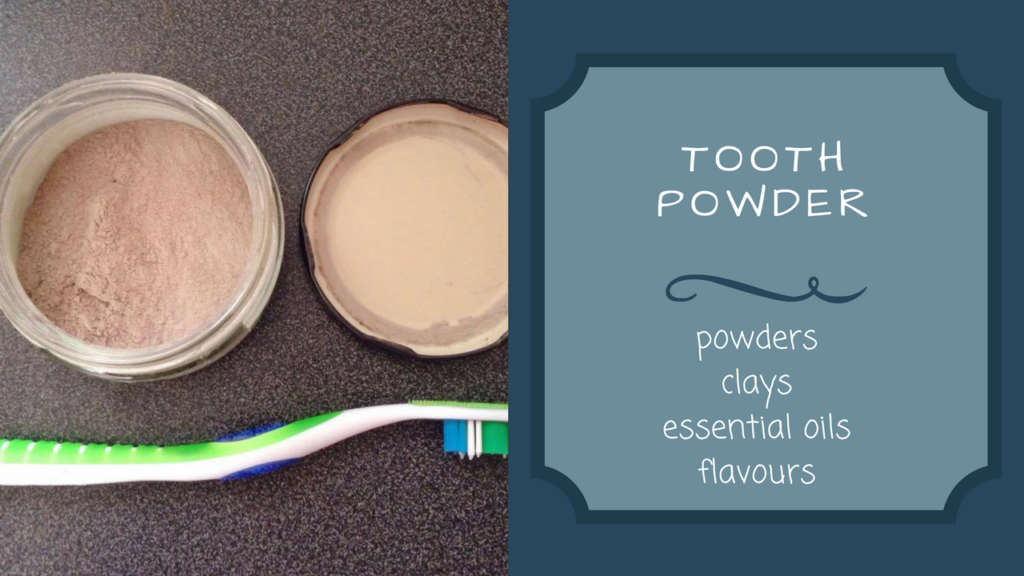
- 2 tbsp.bentonite clay
- 2 tbsp. baking soda
- 1/4 cupfine pink Himalayan salt
- 10 dropspeppermint essential oil
- 1 tsp cinnamon powder
- 1 tsp clove powder
- 2 tsp xylitol powder
- 1 tsp activated charcoal powder
- airtight jar to store in
Method:
- Mix all the ingredients in the jar you’re going to store them in and shake until thoroughly combined.
- To use, run your tooth brush under the tap, shake off excess water so that it’s damp enough for the powder to stick to it, but not so wet that any drops fall into your jar and compromise your powder. It will keep indefinitely on the bathroom counter. All of the ingredients discourage bacterial growth, but only if they remain dry.
- As you only ever use a tiny amount on the edge of your toothbrush, a small amount should last for months, making this a very affordable recipe. The flavour and texture might take some getting used to, if you’ve only ever brushed with commercial toothpaste your whole life, but I can assure you that it’s something you get used to in no time.
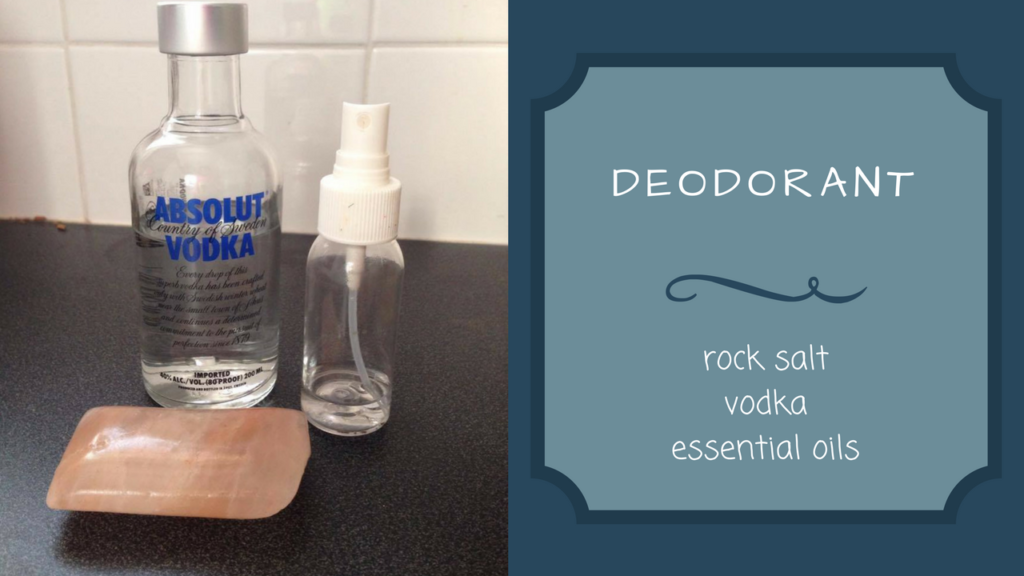
No real recipe here. I cheat and use a bar of pink Himalayan rock salt. It looks like a bar of soap, but it doesn’t lather. However, it can clean your body because of the natural antibacterial properties of salt. Basically, all I do is spray some water under my arm and then rub the bar against my damp skin. This gets some of the salt off the bar and onto my armpit, which keeps smelly bacteria from growing there.
To aid the process, I sometimes use vodka with a high alcohol content instead of water, but this can be pricey, unless you use the cheapest vodka you can get your hands on. It basically helps kill bacteria, but it can dry out your skin, if you’re sensitive.
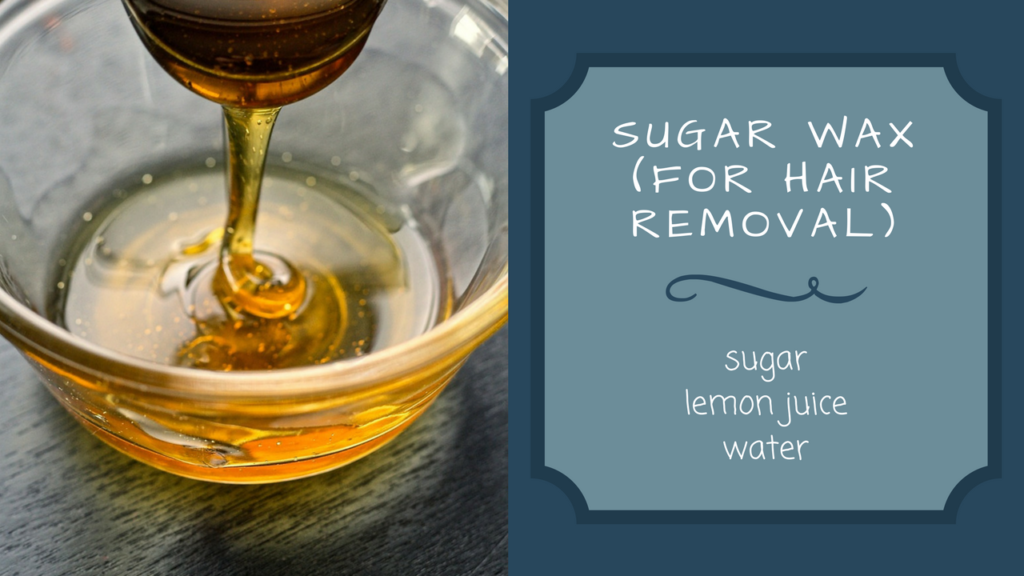
Ingredients
- 2 cups white sugar
- ¼ cup lemon juice
- ¼ cup water
Method
- Add all ingredients in a pan and mix together with a wooden spoon.
- Turn on high heat until it foams and bubbles.
- Reduce heat to medium and continue to stir.
- Cook until wax is a medium golden brown. This can take anywhere from 5-10 minutes.
- Remove from heat and allow to sit for 5 minutes. Meanwhile, take a spoonful of wax and put it in the fridge, wait until cools and check the consistency. If it’s still too runny, return to heat for another minute or two.
- Once you reach the correct consistency, remove from heat and pour into a bowl.
- Let cool for 30 minutes before using.
- This kind of wax can be used straight on the skin and pulled off without any material strips, but feel free to use any old t-shirt cut into strips, or regular store-bought waxing strips. They both work well with this recipe.
- If you spread it on your skin and then have second thoughts, don’t panic. You can just wash it off pain-free!
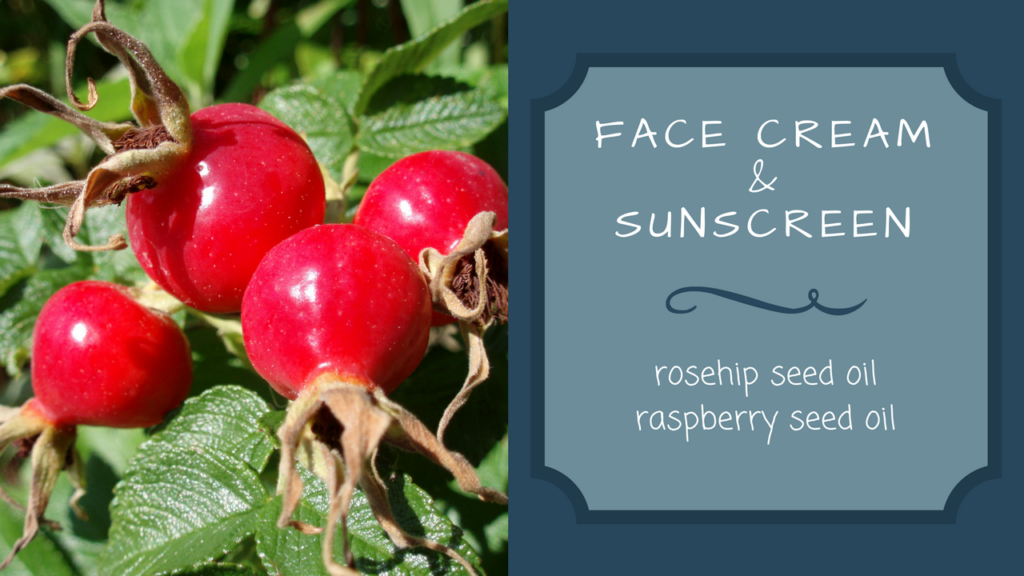
No real recipe here either. I simply use rosehip seed oil, if I feel like my skin is a little dry. I chose this oil over all the rest, because of its natural healing properties and because a small amount goes a long way and doesn’t make my face feel “oily” afterwards.
Here are some of the main reasons why it’s so amazing for your skin:
- It’s rich in vitamins and antioxidants, like Vitamin C, Vitamin A (retinol), and linoleic and linolenic acids—all of which are known to help skin stay healthy.
- It corrects UV damage from the sun.
- Reduces appearance of scars, burns and stretch marks.
- Treats fine lines and wrinkles.
- Hydrates dry skin.
- Great for eczema and psoriasis.
- Evens skin tone, if you have hyper-pigmentation, age spots or other minor skin discolorations.
I like to mix it with raspberry seed oil, which has a natural SPF of 30-50 and voila! You’ve got a moisturiser and a sun cream in one tiny little package.
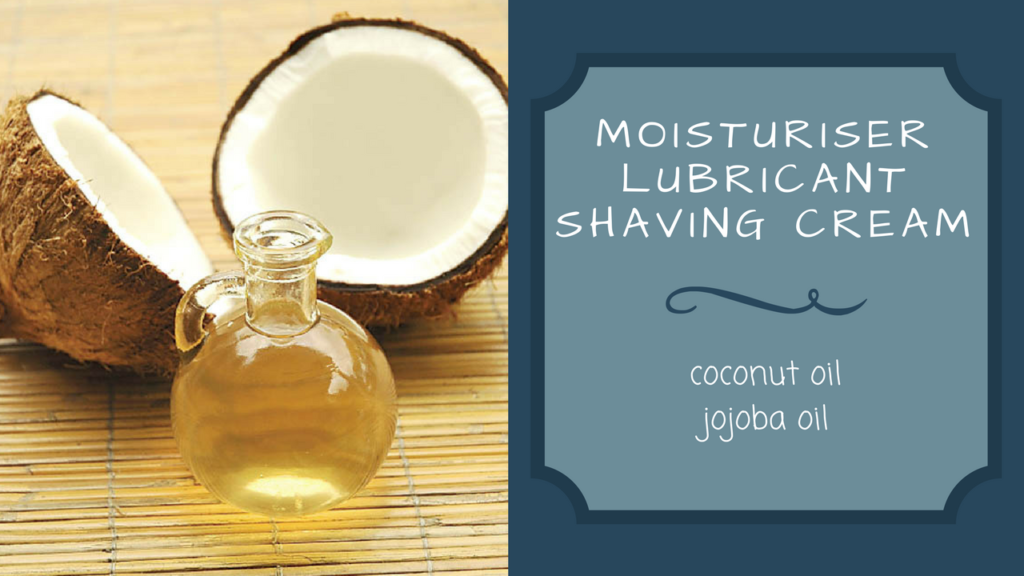
Because the above rosehip seed oil and raspberry seed oils are both quite pricey and come in tiny bottles, if I want to moisturise the skin on a body part other than my face, I use cheaper oils, like coconut oil and jojoba oil.
Coconut oil is widely available these days, so it’s easy to get a large enough amount to coat your legs before shaving, or your entire body, if you fancy a massage. It makes a perfect lubricant for sexy-time sports as well! It lasts for ages and so doesn’t need reapplying, its natural antibacterial properties can protect you from UTIs and yeast infections, and it doesn’t get sticky and gross, like a lot of lubes do. Just be careful, if you use latex condoms, because the two don’t go well together.
I like to use jojoba oil as a hair treatment, if my hair gets too dry, especially around the ends. This is because jojoba oil is the only oil that most closely resembles the molecular structure of our hair’s natural sebum. Sebum in general really, so you could also use it on your face and the rest of your body. I just prefer to use it on my hair, because I like the way coconut oil absorbs differently than jojoba oil.
If you don’t like the scent of any of these oils, feel free to add essential oils to them – but be sure to dilute them with adequate amounts of oil. Be very careful when adding citrus essential oils like lemon or orange, because when they come into contact with the skin, they can cause severe irritation. Don’t say I didn’t warn you.
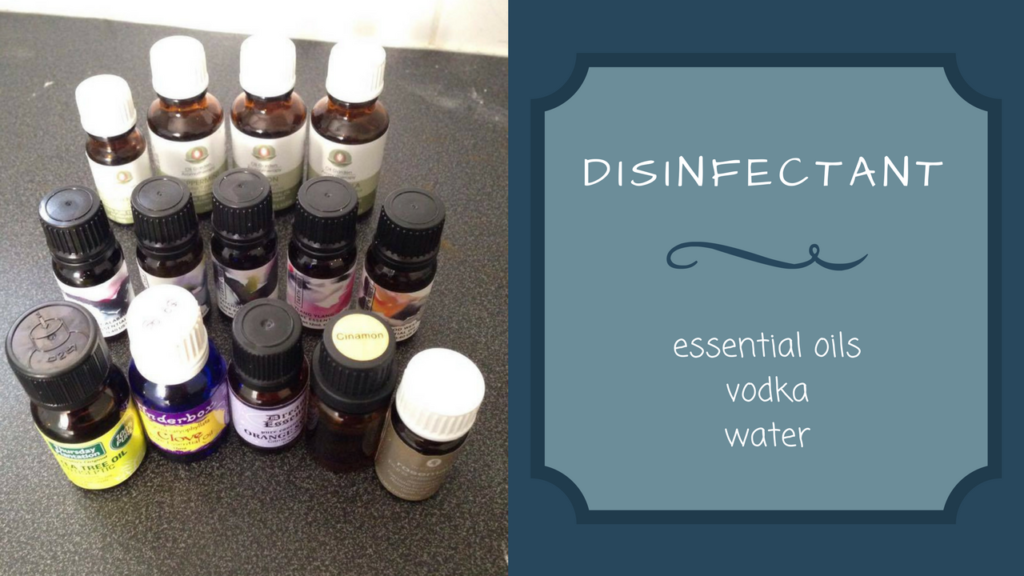
This one’s tricky, as I use many different kinds for different situations. I use vodka and water mixed with lemon essential oil for the office and living room spaces. I use water and vodka mixed with tea tree oil on the kitchen counter and I use water and vodka mixed with eucalyptus essential oil in the toilet and bathroom. In all instances, I use ½ cup vodka, 10-20 drops of essential oil and then however much water is necessary to fill up the spray bottle the rest of the way. I simply shake the bottle, spray the mixture on the surface I want to clean, and wipe it with a microfiber cloth. Works perfectly and smells divine!
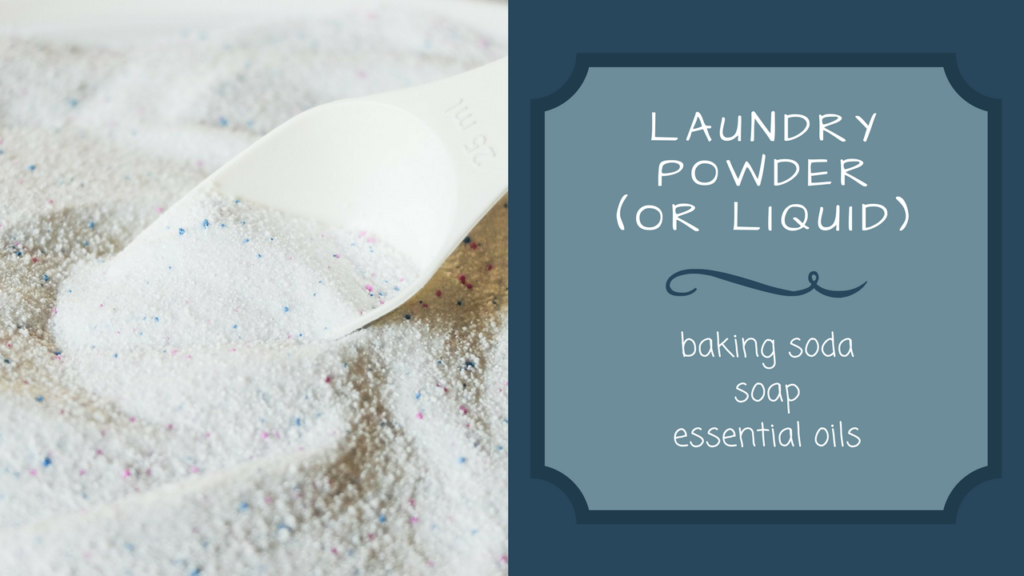
Ingredients
- 6 cups baking soda (this will be used to make washing soda)
- 15oz block of soap (you could use the soap you made using my recipe above)
- 5-10 drops essential oil of your choice (I use eucalyptus because of its cleaning properties and because I enjoy the scent. You can also use lemon essential oil as a degreaser)
Method
- Bake the baking soda in a glass baking pan at 400F for an hour, until it goes from light and fluffy to flat and grainy. This means it’s become washing soda.
- Grate or process the soap until it’s fine and powdery enough to blend with the washing powder.
- Mix all three ingredients and store in an airtight container.
- Use 2-3 tbsp. of detergent per load. This is for a top loader.
- If you prefer laundry liquid over powder, simply add boiling water slowly and stir until it’s the consistency you prefer.
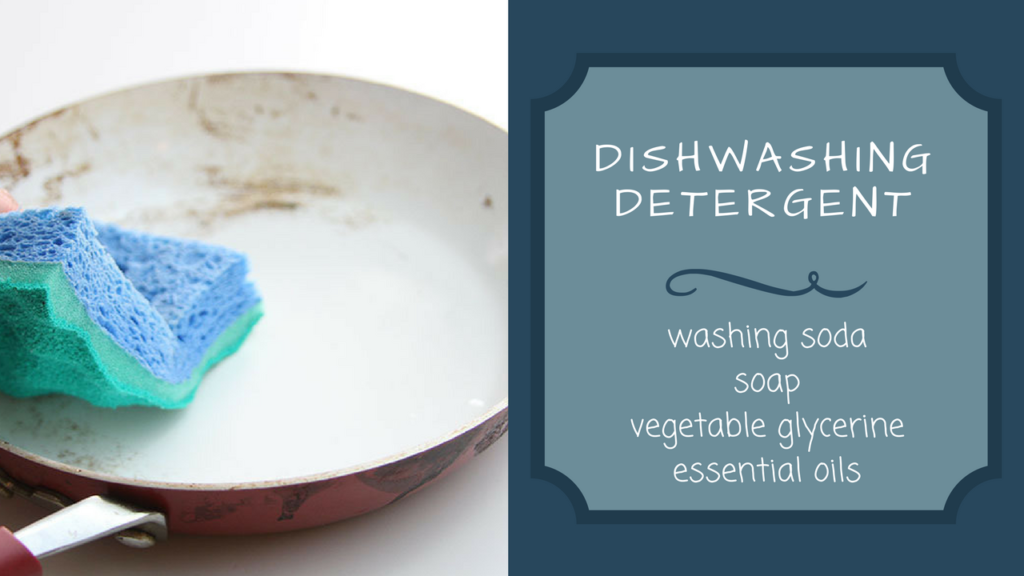
Ingredients
- 1½ cups boiling water
- ½ cup grated soap (you can use your own home-made soap from above)
- 2 tsp washing soda (which, as I said above, you can make using baking soda)
- ½ tsp vegetable glycerine
- 15-30 drops essential oil of your choice
Method
- Mix water with soap over medium heat until it becomes completely liquid.
- Add washing soda, glycerine and essential oil and combine.
- Pour into bottle of choice (an old dish washing liquid bottle works fine) and let sit for 24 hours. It will thicken with time, so it’s okay if it starts off a little runny.
- Shake before use, in case ingredients separate. If it sets completely, submerge bottle in warm water and shake gently.
- Use a pea-sized amount on sponge to wash dishes. A little goes a long way.
I’m excited to hear what you think of these recipes! Try them out and if you have any questions, ask them in the comments below, send me a message, or book a FREE breakthrough session so we can chat about it through Skype.
You can find more Happiness Strategy videos on my YouTube channel, so subscribe to make sure you never miss an episode! I come out with a new one every single Sunday.
Until next time, remember: Happiness doesn’t require energy. It requires Strategy.


Hello there and thank you for great tips! I was wondering maybe you could tell a function of each ingredient in the tooth powder?
No worries at all, Myko!
– bentonite clay: draws out toxins, contains calcium, and is often used to help remineralize teeth.
– baking soda: a very mild abrasive (less abrasive than commercial toothpastes) that dislodges plaque on teeth, breaks down stain causing molecules, and neutralizes pH.
– himalayan salt: can stimulate the production of saliva, which promotes strong enamel and helps remineralize teeth.
– peppermint essential oil: mostly there to add that fresh smell, but it also has antibacterial, antifungal, and biofilm-inhibiting properties.
– cinnamon powder: has an antibacterial effect and provides long lasting fresh breath, strengthening calcium reliably protects your teeth against tooth decay.
– clove powder: contains the active ingredient eugenol, which is a natural anesthetic. It helps numb and reduce pain to ease a toothache. Eugenol also has natural anti-inflammatory properties.
– xylitol powder: a natural sweetener. It prevents bacteria from sticking to the teeth and neutralizes the pH to help avoid tooth decay.
activated charcoal powder
Hope this helps! ^_^
Wow, I wasn’t sure whether to expect a reply at all since the post is a couple years old. Thanks! I’m looking for a minimalistic but effective toothpaste/powder recipe from widely available ingredients. The less, the simpler and the better. Your recipe is composed of quite a few but they all seem important as I’m reading the description. The vast majority of DIY toothpastes I’ve found are based on baking soda + coconut oil but it looks like it doesn’t do a fraction of a job. Either way, thank you for elaborating on the ingredients.
P.S. Could you please also expand on charcoal powder? This one is missing. And do you use any particular mouthwash to follow?
I did write a bunch about charcoal powder. Don’t know why my comment was cut off. Anyway, it’s believed that charcoal can remove pigments and stains from your teeth because it’s highly absorbent. It’s said to also get rid of bacteria and toxins in the mouth. Don’t swallow it though because it can also absorb nutrients and cause deficiencies.
I don’t use mouthwash. But I use a tongue scraper which removes a lot of the bacteria that cause bad breath and is much more environmentally (and pocket) friendly.
Thank you very much for the answers! ^_^
Hi I was wondering if you could tell me if th xyitol powder is only for taste or for another reason thanks. In the tooth paste powder?
Hi Rahne, the xylitol is both used as a sweetener and a tooth strengthener as it prevents tooth decay.